
Setting up a Status Sync integration for Jira Server
← Back to Jira section
-
Availability
- Plan: Ideas Advanced
- On a legacy plan? Click here for more info
-
Roles and Permissions
- Add: Admin, Editor
- Edit: Integration Owner
- Delete: Integration Owner
The Status Sync integration between Jira and ProdPad allows you xto push any Idea from ProdPad to Jira, creating a link between the Idea and the new ticket. You can map your Issue statuses in Jira with the workflow statuses in ProdPad, and so when the status is updated in Jira, the change reflects in your ProdPad account where the rest of the team can see it. You can also update Ideas in ProdPad that have already been pushed to Jira and use the Sync updates to Jira feature to update the linked issue in Jira.
Our Jira integration supports Jira Cloud, Server and NextGen projects. If you are a Jira Cloud customer and you want to create a Status Sync integration - follow this setup guide.
Important!
Project and field data retrieval may be affected if there are any firewall restrictions, reverse proxies, or port forwarding being utilized on the Jira servers. If there is a firewall or a selective block between the internet and your JIRA server, system admins will need to allow traffic from the following IP addresses:
- 54.247.172.34
- 54.217.225.11
- 54.217.204.86
- 54.217.204.99
- 54.246.88.218
- 54.247.188.205
- 54.228.226.166
If you are using HTTPS then port 443 will need to be opened otherwise port 80 for HTTP.
Please ensure that your server times are accurate and updated/checked regularly, time lags can affect synchronization and authentication.
You will not be able to complete the set-up without the above work being completed.
A Status Sync integration between Jira and ProdPad allows you to push any Idea from ProdPad to Jira, creating a link between the Idea and the new ticket. You can map your Issue statuses in Jira with the custom statuses in ProdPad, and so when the status is updated in Jira, the change reflects in your ProdPad account where the rest of the team can see it. Pushed Ideas can be updated in ProdPad using the Sync updates to Jira feature, which will update the linked Issue in Jira.
Getting the integration with Jira set up is easy, and just requires you to follow these steps:
- Step 1: Create the integration
- Step 2: Authorize your connection
- Step 3: Connect to Jira project and choose issue types
- Step 4: Map Initiatives fields to Jira issue fields
- Step 5: Map Idea fields to Jira issue fields
- Step 6: Map User Story fields
- Step 7: Map Jira statuses to ProdPad workflow stages
How to use the integration
Step 1: Create the integration
Click on your Account name at the top left-hand side of the navigation bar, then select Integrations and choose Jira Server & Data Center from the Gallery. 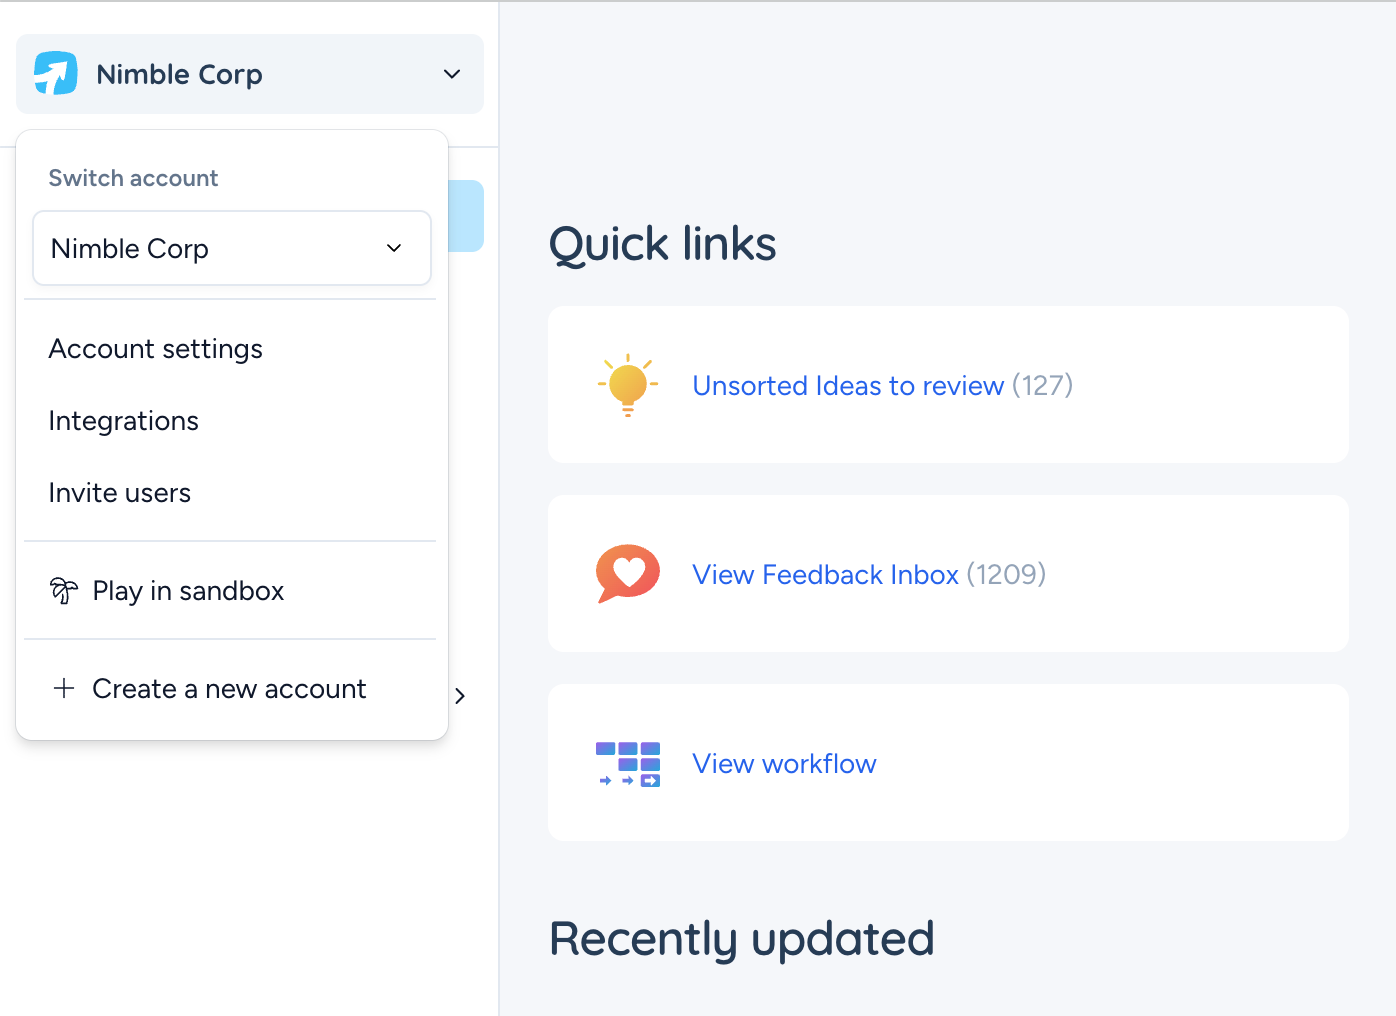
You'll then be given the choice of integration you'd like to create. In this help article, we'll be setting up a Jira Status sync integration, which you can find on the right-hand side of the selection menu. Once you've selected this option, click Next to move to the next step.

You'll then be prompted to give your integration a name - this is to help you and your team identify your integration, which is useful if you’re planning to set up multiple integrations to different Jira projects. When you're ready to move forward, click Next.

You'll now be required to enter the Jira workspace URL you'd like to connect with. This URL might look something like: https://jira.yourcompanyname.net/. Once you've entered the workspace URL, press Next to move into the next step.

Step 2: Authorize your connection
In this step, we will allow the two applications to connect and exchange data in order to keep everything synchronized.
Setting up an Application Link in Jira
Top Tip
If you already have a ProdPad link in your Jira account, there’s no need to set up a new one – the link you created last time still works!
In a new tab, log in to Jira as an Admin and navigate to Application links: click the 'Settings' cog at the top right and select 'Products' in the dropdown, then click 'Application links' from the menu on the left.

In the Create link module, select the Direct application link option and paste https://app.prodpad.com into the Application URL field. Click Continue to move on to the next step.
 You'll then see a Configure Application URL window pop up displaying a warning. You can safely ignore this warning and click the Continue button to move on to the next step.

You will see the 'Link Applications' modal. Enter the following information:
Application Name: ProdPad
Application Type: Generic Application
Service Provider Name: ProdPad
Consumer key: prodpad
Shared secret: prodpad
Request Token URL: https://app.prodpad.com
Access token URL: https://app.prodpad.com
Authorize URL: https://app.prodpad.com

Now go back to ProdPad and copy your public key (use the 'Copy' button to grab the key in one click).

Navigate back to Jira and paste the key into the ' Public Key' field. Be sure to copy and paste the whole key, including the BEGIN and END parts. Enter prodpad for Consumer Key and ProdPad for Consumer Name. Click Continue to move on to the next step.

Once the application link has finished processing, you'll see a message confirming the successful creation of the application link in the bottom left-hand corner of Jira.
 All done! Head back to ProdPad.
Authorize your connection
Once in ProdPad, click the ' Authorize' button. If your application link was set up correctly, you will see the screen below; click Allow – now the two applications are connected and ready to exchange data.

Step 3: Map Jira project and work items
Choose which Jira project the integration will connect to, and how information maps:
- A ProdPad Initiative = Jira Epic
- A ProdPad Idea = Jira Story or Task
- A ProdPad User story = Jira Sub-task
Mapping ensures clear parent/child hierarchy between work items. 
Step 4: Map ProdPad Initiatives to Jira work item fields
Define how Initiative fields map to Jira fields. Use the + Add mapping button to add fields. Click Next when finished.

Step 5: Map Idea fields to Jira work item fields
Map Jira fields to Ideas in ProdPad. Fields are auto-mapped based on Jira type but can be adjusted. Use + Add mapping to add fields. Click Next when finished.

Step 6: Map ProdPad User Stories to Jira work item fields
Map User Story fields similarly. Use + Add mapping to configure additional fields.

Step 7: Map Jira statuses to ProdPad Workflow stages
Configure Jira statuses to reflect in ProdPad Workflow stages. One Jira status can map to multiple ProdPad stages.  Click Activate to enable the integration. Optionally, you can import Jira work items simultaneously.
Note: Status mapping currently not supported for Initiatives.
Using the Jira Status Sync integration
Pushing from ProdPad to Jira
Select an Initiative, Idea, or User Story to push to Jira. Initiatives push as Epics, Ideas as Stories, and User Stories as Sub-tasks. Linked Ideas and Stories can also be pushed together.
Pushing an Initiative from ProdPad to Jira
Go to your Roadmap, open the Initiative canvas, scroll to Integrations, and click Push.

Choose to push the Initiative via the Jira integration. You can also push associated Ideas and User Stories, which will link to the Epic that the Initiative becomes. Enter any required fields before pushing.
Links to Jira tickets appear in the Integrations section of the Initiative, and vice versa.
Pushing an Idea from ProdPad to Jira
In the Ideas list, open the Idea canvas and click Push. You can push associated User Stories as well. Required fields must be completed before pushing.  Links to Jira work items appear in the Integrations section of the Idea, and any status changes in Jira update ProdPad automatically.
Clicking Sync updates to Jira after making changes in ProdPad updates the linked Jira work item. Updates from Jira may take up to 15 minutes to appear in ProdPad.
From now on, any changes to the linked issue's status in Jira will automatically update the Idea workflow stage in ProdPad – such Ideas will be marked with a blue banner with a Jira logo on it.

If you make any changes to a pushed Idea or User Story in ProdPad, you'll notice the Push button on the Idea canvas changes to Sync updates to Jira. Clicking this button after you make changes to a pushed Idea will update the linked Issue in Jira instead of creating a separate new Issue.

Top Tip
Looking to add multiple projects? If you wish to setup another project within Jira, simply repeat the steps above. You may set up as many integrations as you like - and as long as they're the same account (base URL) they will only count as one integration.
Sharing an integration
Working as a team? No problem! You can set your Jira integration to teamwide, allowing you to share your setup with other users in your account. This will allow the entire team (editors and admins alike) to use the integration as needed. Learn more in Enabling Team-Wide Integrations.
If you would like to provide feedback on our Jira integration or this document we would love to hear from you via our portal.
| The Jira integration is available on the following Legacy plans |
| Advanced |
| Performance |
| Enterprise |
| Modular V1 with Ideas Advanced add on |