
Setting up a Jira Full Sync integration for Jira Cloud
← Back to How ProdPad works with Jira
-
Availability
- Plan: Ideas Advanced
- On a legacy plan? Click here for more info
-
Roles and Permissions
- Add: Admin, Editor
- Edit: Integration Owner
- Delete: Integration Owner
Use our Jira content sync integration to create a link between your ProdPad Initiatives, Ideas and User stories and your Jira work items to update them when there is a change in either tool. Changes made in any ProdPad Initiative, Idea or User Story that is linked to a Jira work item will update instantly when the Sync updates to Jira button is used. However, due to the nature of the sync, any updates made in the Jira work item will take up to 15 minutes to reflect in the ProdPad Initiative, Idea or User Story. This article will discuss how to successfully set up the Jira Content Sync integration between ProdPad and Jira Cloud projects.
How to set up a Jira Content Sync integration
- Step 1: Create the integration
- Step 2: Connect your Jira account
- Step 3: Map Jira project and work items
- Step 4: Map ProdPad initiatives to Jira work items
- Step 5: Map Idea fields to Jira work item fields
- Step 6: Map ProdPad user story fields to Jira work item fields
- Step 7: Map Jira statuses to ProdPad Workflow stages
- Step 8: Sharing an integration
How to use the integration
Important!
Make sure to read the current capabilities and limitations for Jira Content Sync in our Jira Content Sync FAQ guide before creating your integration.
Step 1: Create the integration
Click on your Account name at the top left-hand side of the navigation bar.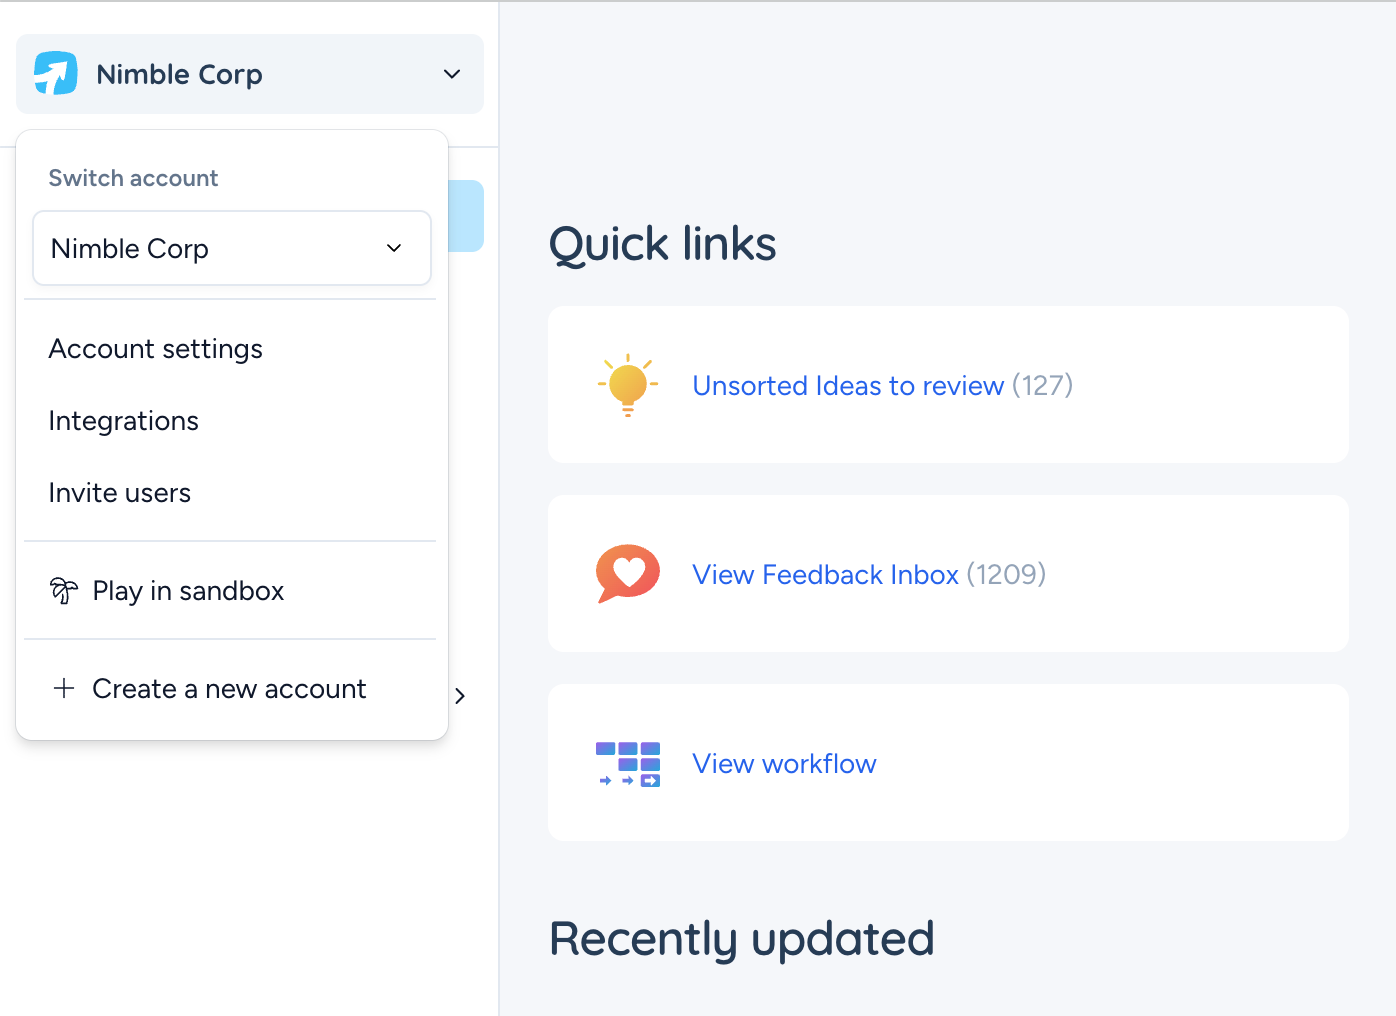
Click Integrations and then select Jira Cloud from the options Gallery.

You'll then be given the choice of integration you'd like to create. In this help article, we'll be setting up a Jira Full Sync integration, which you can find on the left-hand side of the selection menu. Once you've selected this option, click Next to move to the next step.  You'll then be prompted to give your integration a name - this is to help you and your team identify your integration, which is useful if you’re planning to set up multiple integrations to different Jira projects. When you're ready to move forward, click Connect.
  Step 2: Connect your Jira account
After clicking Connect, you'll see an Atlassian account confirmation screen pop up. Once you've selected your account and accepted, the screen will close, and you'll return to ProdPad. Click Next to move on to mapping ProdPad to Jira.

Note: We have moved to OAuth 2.0 authentication, therefore it is no longer necessary to create app links for Jira Cloud integrations with ProdPad. However, if you have existing Jira integrations, it is best to leave the app link in place, as deleting may invalidate active tokens and break those integrations.
Step 3: Map Jira project and work items
This is the stage where you will choose which Jira project the integration will connect to, and dictate how information in ProdPad will map into Jira.
For the best results with this integration, if you are mapping intiatives, ideas and stories, we recommend is:
- A ProdPad Initiative = A Jira Epic
- A ProdPad Idea = A Jira Story or Task
- A ProdPad User story = A Jira Sub-task
For Ideas and User Stories only:
- A ProdPad Idea = A Jira Epic
- A ProdPad User story = A Jira Story or Task
Mapping Initiatives, Ideas and User Stories ensures a clear parent/child hierarchy between work items. Read our guide for more info on mapping your work in ProdPad, and to get a sense of how Feedback, Initiatives, Ideas, User Story and Roadmap all relate to one another.
Step 4: Map ProdPad Initiatives to Jira work item fields
This step lets you define how Initiative fields in ProdPad map to Jira fields. You can also use the + Add mapping button to configure additional fields as needed. Once finished, click Next to continue.

Step 5: Map Idea fields to Jira work item fields
This is the stage where you set how Jira fields will map to Idea fields in ProdPad. Due to the continuous sync of data to ProdPad from Jira, the mapping should be one to one, i.e one Jira field maps to one ProdPad field. For convenience, the Idea fields will be automatically mapped depending on the Jira work item type option you selected for Ideas in the previous step, but the default mapping for these fields can be changed as required. You can click the + Add mapping button to map more fields for your ideas. Once you've finished setting up your mapping, click Next to proceed to the next stage of the integration setup.

Step 6: Map ProdPad user stories to Jira work item fields
Next up is mapping ProdPad user stories to Jira fields. As stated above, you can click the + Add mapping button to map more fields for your user stories. As with Ideas, the User Story fields will be automatically mapped depending on the Jira work item type option you selected for User Stories in the previous step, but the default mapping for these fields can be changed as required.

Step 7: Map Jira statuses to ProdPad Workflow stages
Lastly, you will configure how you want Jira statuses to reflect in your ProdPad Workflow. You can set a Jira status to map to multiple workflow stages. For example, if you have Jira statues like QA testing, UAT review, peer review - these could all map to one 'Testing' status in ProdPad.  Once the status mapping is done, click Activate. You'll also see the option to Start import and active next to the Activate button. This option allows you to import your Jira project work items into ProdPad and activate the integration at the same time. To learn more about importing Jira project work items into ProdPad, jump to the Importing from Jira section of this article.
Note: We currently do not provide status mapping for Initiatives.
Using the Jira Content Sync integration
Pushing from ProdPad to Jira
When pushing from ProdPad, you can select an Initiative, Idea, or User Story to send to Jira, depending on how your integration is configured. Initiatives will push as Epics, Ideas as Stories, and User Stories as Sub-tasks (based on the mappings you set up). If you have you Ideas and Stories linked to initiatives you can push them all together!
Pushing an initiative from ProdPad to Jira
When you have an initiative that is ready to be pushed to Jira and kickstart your development project, go to your Roadmap and find the Initiative. Open the Initiative canvas, scroll to Integrations and click Push

This will open up a module window where you can choose to push the Initiative via the Jira integration you've set up.
You will also have the option to push over Ideas and User Stories. If you choose to do so, any associated Ideas and User Stories will be pushed to Jira as work items according to your mapping and associated with the Epic that the Initiative becomes (assuming the work item type selected for the Jira integration is Epic).
If you have any required fields, you will be asked to enter them before pushing.
There will now be a link to the Jira ticket in the Integrations section on the Initiative. The ticket in Jira will also link back to the ProdPad Initiative. To quickly navigate to the linked work item in Jira, simply click the link in the ProdPad Initiative (also to note, you can click the link in the Jira work item to navigate back to the linked ProdPad Initiative too!).
 If you make any changes to your Initiative in ProdPad simply click Sync updates to Jira to push those changes over.
Pushing an idea from ProdPad to Jira
Head to your Ideas list, and pick an idea that's ready for development. On the Idea Canvas page, click on Push.

This will open up a module window where you can choose to push the Idea via the Jira integration you've set up.
You will also be prompted to push over user stories. If you choose to do so, any associated user stories will be pushed to Jira as stories and associated with the Epic that the Idea becomes (assuming the work item type selected for the Jira integration is Epic).
If you have any required fields, you will be asked to enter them before pushing.

There will now be a link to the Jira ticket in the Integrations section at the top of the Idea. The ticket in Jira will also link back to the ProdPad Idea. To quickly navigate to the linked work item in Jira, simply click the link in the ProdPad Idea (also to note, you can click the link in the Jira work item to navigate back to the linked ProdPad Idea too!).

From now on, any changes to the linked work item's status in Jira will automatically update the Idea workflow stage in ProdPad – such Ideas will be marked with a blue banner with a Jira logo on it.

If you make any changes to a pushed Idea or User Story in ProdPad, you'll notice the Push button on the Idea canvas changes to Sync updates to Jira. Clicking this button after you make changes to a pushed Idea will update the linked work item in Jira instead of creating a separate new work item. The updated changes will be reflected in the Jira work item immediately when the Sync updates to Jira button is pushed. However, due to the nature of the sync, any changes made to the Jira work item can take up to 15 minutes to appear in the linked ProdPad Idea or User Story.

How to Pause and Resume Jira Sync
You can pause sync for Ideas, or User Stories. The process is the same for all types — pausing will unlock fields for editing in ProdPad while suspending sync with Jira. Resuming will push your changes back to Jira and re-lock fields.
To pause the Jira full sync for a pushed Idea, navigate to the Idea and check the “ Synced to Jira” status. If the status shows “Synced to Jira”, it means the Idea is currently synced. To pause the sync, simply click the “Pause Jira Sync” button located on the right-hand side of the Idea. Pausing the sync will stop the synchronization for the specific Idea, or the User Stories attached to the Idea you’re working on. Other Ideas linked to the same Jira integration will also pause until you or another user (who has an integration synced to the same Jira workspace) resumes the sync again.

After clicking the “ Pause Jira Sync” button, synchronization with Jira will stop, and the sync status will update to “Jira Sync Paused". Any locked fields on the Idea will become editable, allowing you to make necessary changes. While you’re editing, all updates will remain in ProdPad and will not be pushed to Jira.

When you’ve completed your edits, click the “ Sync Updates to Jira” button to restart the full sync. Your changes will be pushed to Jira, the Idea fields will become read-only again, and the sync status will update to “Synced to Jira”. To read more about how the "Pause Jira Sync" feature works, click here.
Importing from Jira
You can import Jira Epics, Stories, and/or Sub-tasks into ProdPad as Ideas, and User Stories respectively, once a Jira Full Sync integration is set up. Initiatives cannot currently be imported. By bringing Jira tickets into ProdPad, you can:
- Use the ProdPad idea framework to reframe and refocus tickets on the problem they're solving, and value they could provide
- Take the idea through your workflow stages, helping you better decide if and when something is ready for development
- Connect the idea to your products and roadmap
The import function will bring in any Jira tickets that aren't linked to existing ProdPad ideas, and match the mapping set in the integration configuration. To learn more about importing Jira project issues, check out this help article here.
Top Tip
Looking to add multiple projects? If you wish to set up another project within Jira, simply repeat the steps above. You may set up as many integrations as you like - and as long as they're the same account (base URL) they will only count as one integration.
Sharing an integration
Working as a team? No problem! You can set your Jira integration to teamwide, allowing you to share your setup with other users in your account. This will allow the entire team (editors and admins alike) to use the integration as needed. Learn more in Enabling Team-Wide Integrations.