
Setting up an Azure Devops Integration
← Back to Azure Devops section
-
Availability
- Plan: Ideas Advanced
- On a legacy plan? Click here for more info
-
Roles and Permissions
- Add: Admin, Editor
- Edit: Integration Owner
- Delete: Integration Owner
Setting up a Azure Devops Integration
ProdPad has a direct integration available with Azure Devops (formerly known as Visual Studio Team Services/VSTS).
The two-way integration between Azure Devops and ProdPad allows you to push any Initiative, Idea and/or User Story from ProdPad to Azure Devops, creating a link to the new work issue. You can map your issue statuses in Azure Devops with the custom statuses in ProdPad, and so when the status is updated in Azure Devops, the change reflects in your ProdPad account where the rest of the team can see it. You can also update the linked Work Issue with any text-based changes made to the linked Idea in ProdPad using the Sync updates to Azure DevOps button!
Getting the integration with Azure Devops set up is easy, and just requires you to follow these steps:
Part 1. Setting up an Azure Devops integration
Part 2. Mapping Fields
Part 3. Pushing Initiatives, Ideas and User Stories to Azure Devops
Part 4. Sharing with your team
Part 1. Setting up the Azure Devops integration in ProdPad
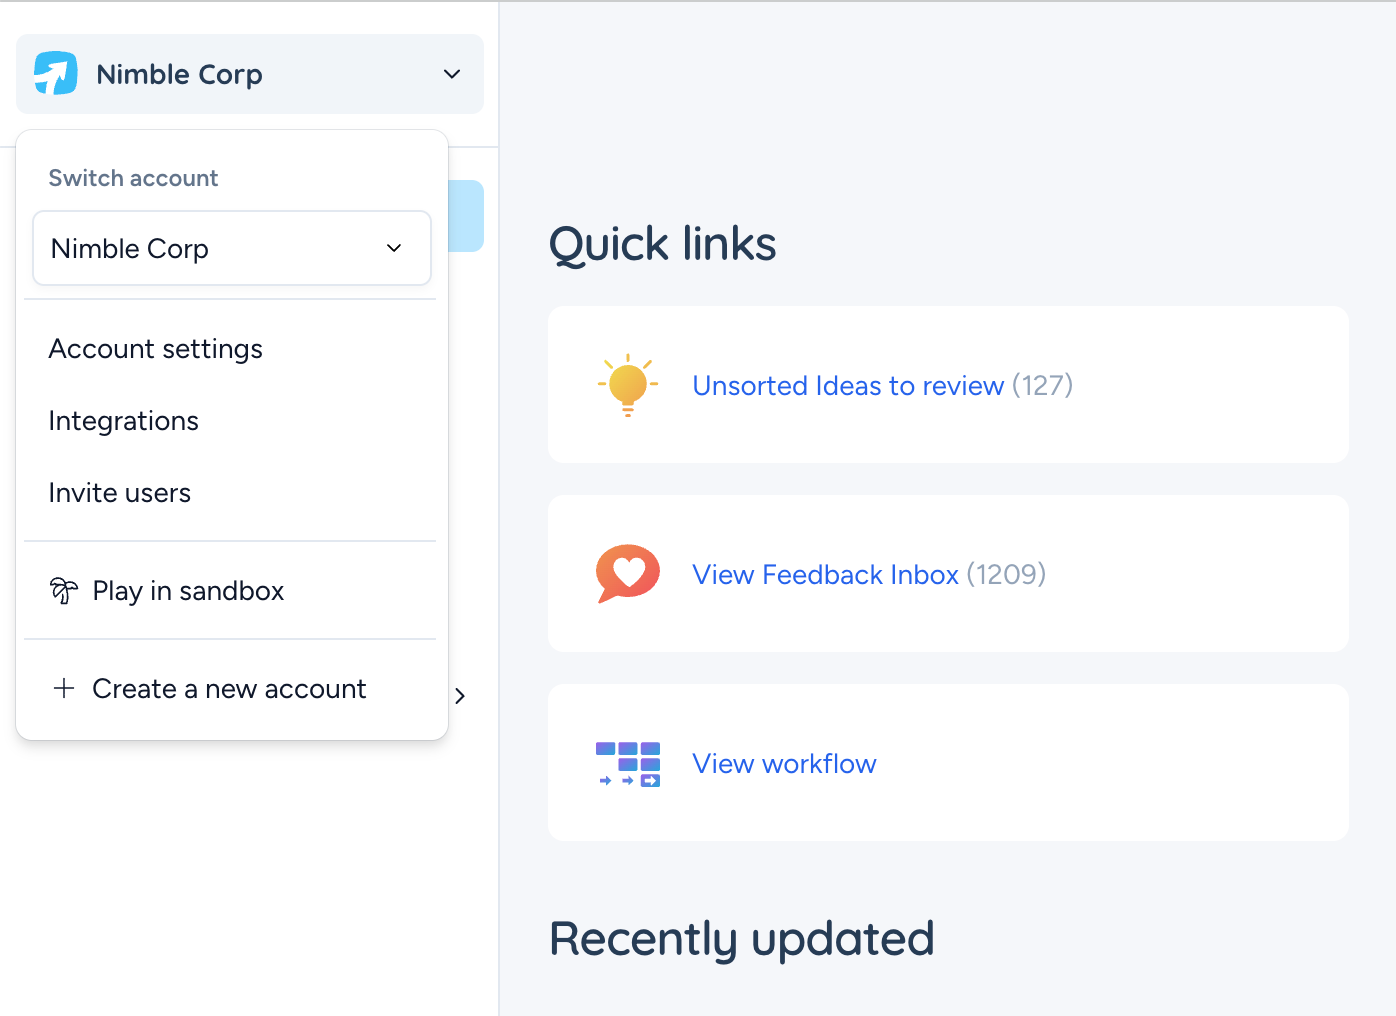
Click on your Account name at the top left-hand side of the navigation bar, then select Integrations and choose Azure DevOps from the Gallery.
Enter a name for the integration e.g. ADO Dev Queue and and a quick description, then click Next. Now enter your base URL, this is the Azure DevOps domain plus your organization name. For example https://dev.azure.com/yourcompany
 Click Connect to be directed to authenticate with Azure Devops.
If you aren't already logged into Azure Devops, you will be prompted to enter your credentials. Once you're logged into Azure Devops you’ll be prompted to allow ProdPad limited access to your Azure Devops profile. We require access to read your organizations and boards; create and update cards, lists and boards; and make comments on your ideas.
You should ensure your Organization settings are set to accept third party applications via OAuth. You can read more about this here.
Part 2. Mapping fields
Once the authorization is complete, you will be able to select a project from your Azure Devops account. Select the project you want your ProdPad ideas to appear in once they've been pushed to Azure Devops. Next, it's time to map your field types from Azure DevOps to ProdPad.
To begin with, select the Work Item type for Initiatives, Ideas and User Stories.
A selection must be made for Ideas, but Initiatives and User Stories are optional, you can toggle off them off if the are not part of your ADO process. You can view the list of current compatible Azure DevOps work item types below:
| The following work item types are available to map from Azure DevOps to ProdPad |
| Feature |
| Requirement |
| Epic |
| Bug |
| Task |
| Issue |
| User Story |
| Product Backlog Item |
| Change Request |
If you have selected to push Initiatives, you will be able to map you Initiative data to the fields in your chosen ADO work item type. As a minimum it is suggested to map Title to Title and Description to Description.
You will also have the option to map to other fields depending on the work item selected.

In the next step, you'll pick which fields from your Ideas page you want to send to Azure DevOps. At the very least, you need to select something for the Title field in Azure Devops – we recommend using the Title field from your ProdPad Initiative, Idea and/or User Stories for this. You can also pre-fill the Description in your Azure Devops issue with the description, business case, and functional specs in ProdPad, or any combination of them.

It's worth noting you can also set your field mapping to include Designs and Files from ProdPad, which will be added as Attachments to your new card in Azure Devops!
Note: To map Assigned To in ADO to ProdPad you will need to select Owner in ProdPad. This mapping will only succeed if the user's Display Name in ADO matches the Display Name in ProdPad.
To map Impact and Effort from ProdPad the target field in ADO is a pick list, the options available must match the scale in ProdPad. For example, T-Shirt sizes in ProdPad will not map to an Impact pick list with numerical values.

Once you've finished mapping Ideas, you can do the same for User Stories, if required:

The last step is to map statuses, so that as the issue moves within the development workflow, ProdPad will reflect those changes.

To finish click Activate and you are done!
Part 3. Pushing Initiatives,Ideas and User Stories to Azure Devops
Now that you've got an active integration with Azure Devops set up, it's time to start pushing work from ProdPad to Azure Devops.
You will also have the option to push over Ideas and User Stories. If you choose to do so, any associated Ideas and User Stories will be pushed to Azure DevOs as work items according to your mapping and associated with the Epic that the Initiative becomes (assuming the work item type selected for the Azure DevOps integration is Epic).

There will now be a link to the Azure DevOps ticket in the Integrations section on the Initiative. The ticket in Azure DevOps will also link back to the ProdPad Initiative. To quickly navigate to the linked work item in Azure DevOps, simply click the link in the ProdPad Initiative (also to note, you can click the link in the Azure DevOps work item to navigate back to the linked ProdPad Initiative too!).
If you make any changes to your Initiative in ProdPad simply click Sync updates to Azure DevOps to push those changes over.
Pushing Ideas and User Stories
Head to your Ideas List, and pick an idea that's ready for development. In the Idea Canvas page, click on Push to development at the top right. This will open up a modal window where you can choose to push the Idea via the Azure Devops integration you've set up, or any of your other integrations.
Once pushed to Azure Devops, your ProdPad statuses will sync with your Azure Devops statuses as they are updated. (Note: the update cycles every 20 minutes, you should not have to wait longer than that to see this in ProdPad).
If you make any changes to a pushed Idea or User Story in ProdPad, you'll notice the Push button on the top right-hand side of the Idea page changes to Sync updates to Azure DevOps. Clicking this button after you make changes to a pushed Idea will update the linked Work Item in Azure instead of creating a separate new Work Item. The updated changes will be reflected in the Azure Work Item immediately when the Sync updates to Azure button is clicked.  Part 4. Sharing with your team
To make it easy for your team to use the same integration mappings, you can share your integration with your team.
In your Integrations list, click the 'Teamwide' setting.
Once this is done, anyone in your ProdPad account can log in and go to the Integrations & API page, and select the original integration in the 'Available Integrations' list.
Top Tip
Looking to add multiple projects?If you wish to setup another project within Azure Devops, simply repeat the steps above. You may set up as many integrations as you like - and as long as they're the same account (base URL) they will only count as one integration.